Two people, hand tools, about 2.5 hours.
The parts lock together: no welding, no anchors, no damage to the floor. The manual and our video-call support are with you throughout.
- 2
- people
- ≈2.5 h
- installation
- 40 min
- dismantling
- 0
- anchors · welds
- 11
- panels · 66 wheels
- 4
- motors · 24 V
Six part groups. All numbered.
Hub and ring
Tapered-bearing hub, 8 arms, inner and outer arc plates.
4 drive stations
24 V motor, drive wheel and stop — bolted to the ring in a cross.
11 triangular panels
Nine male–female, one male–male, one female–female that closes the ring. Six wheels under each.
Edge ramps
All ramps are reinforced; the car drives on and off from any side except over the four motor ramps.
Control panel and remotes
220 V wall panel: LCD, speed and direction, emergency stop. 2 Bluetooth remotes, 8 m range.
Tools needed
Hex key, screwdriver, 13 mm spanner. That is all.
From the hub to the ramps, inside out.
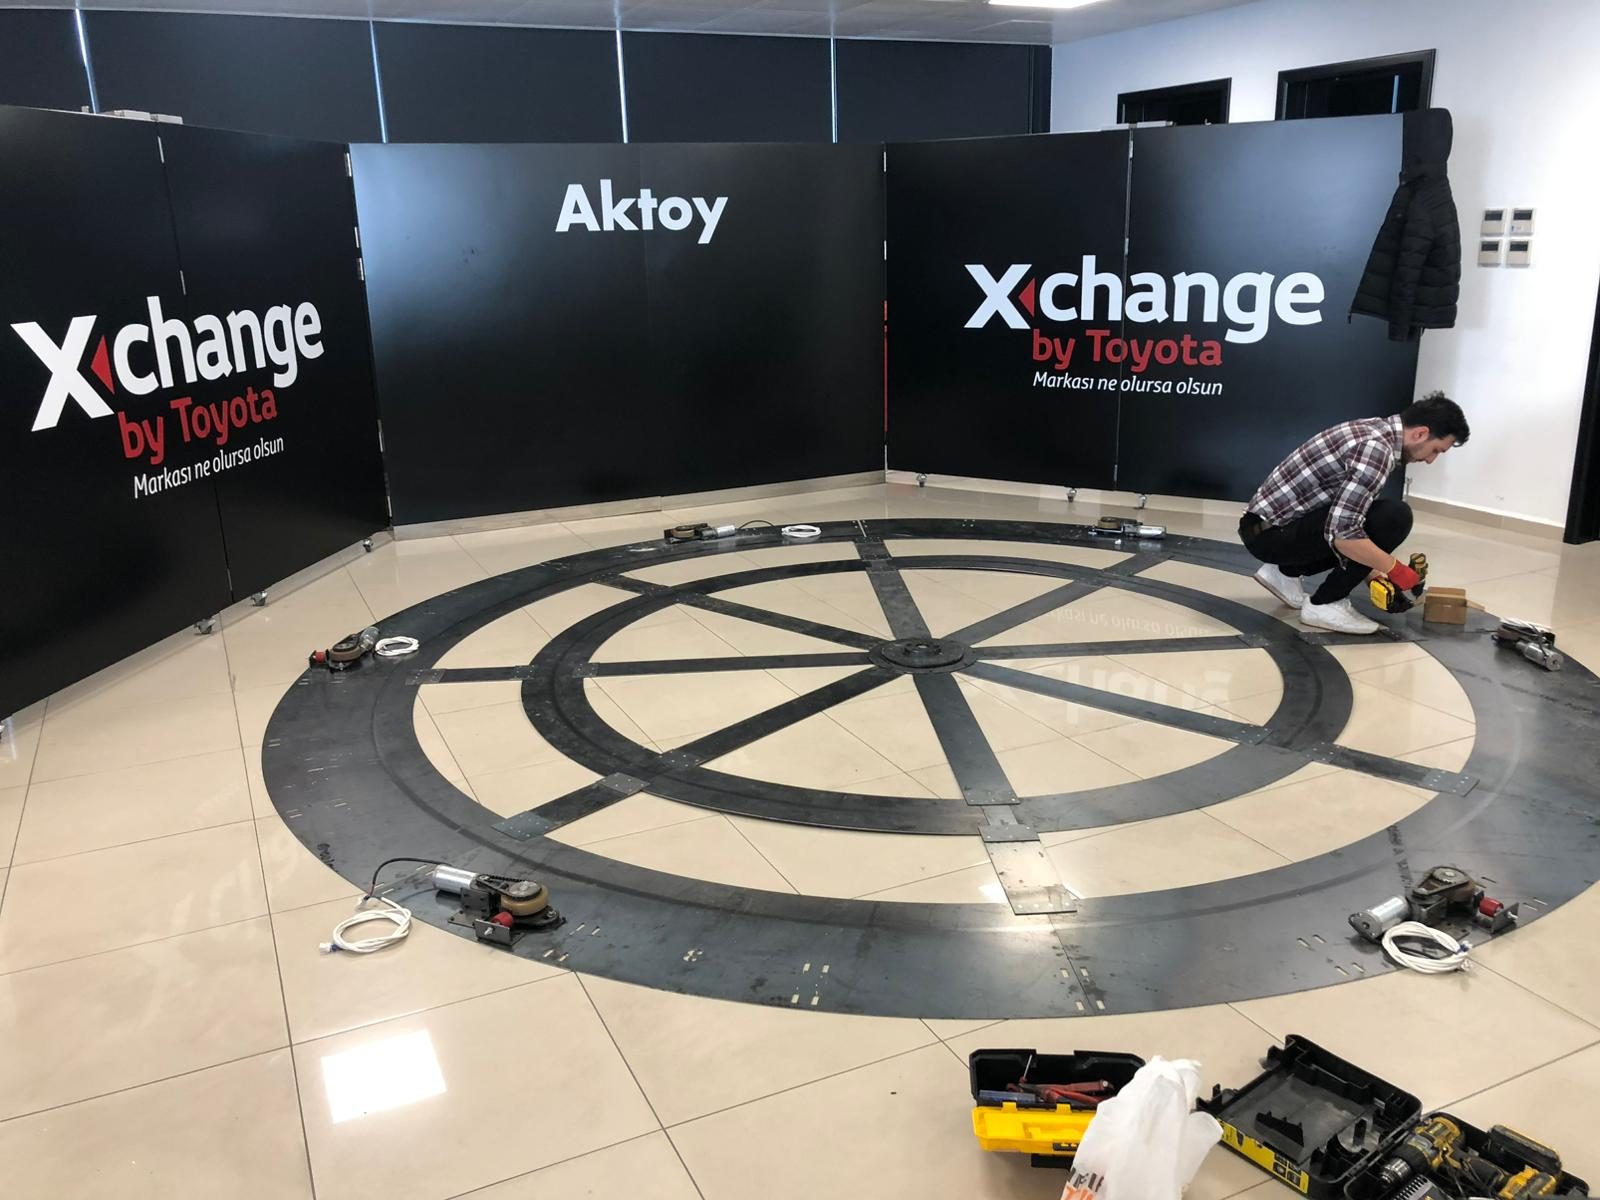
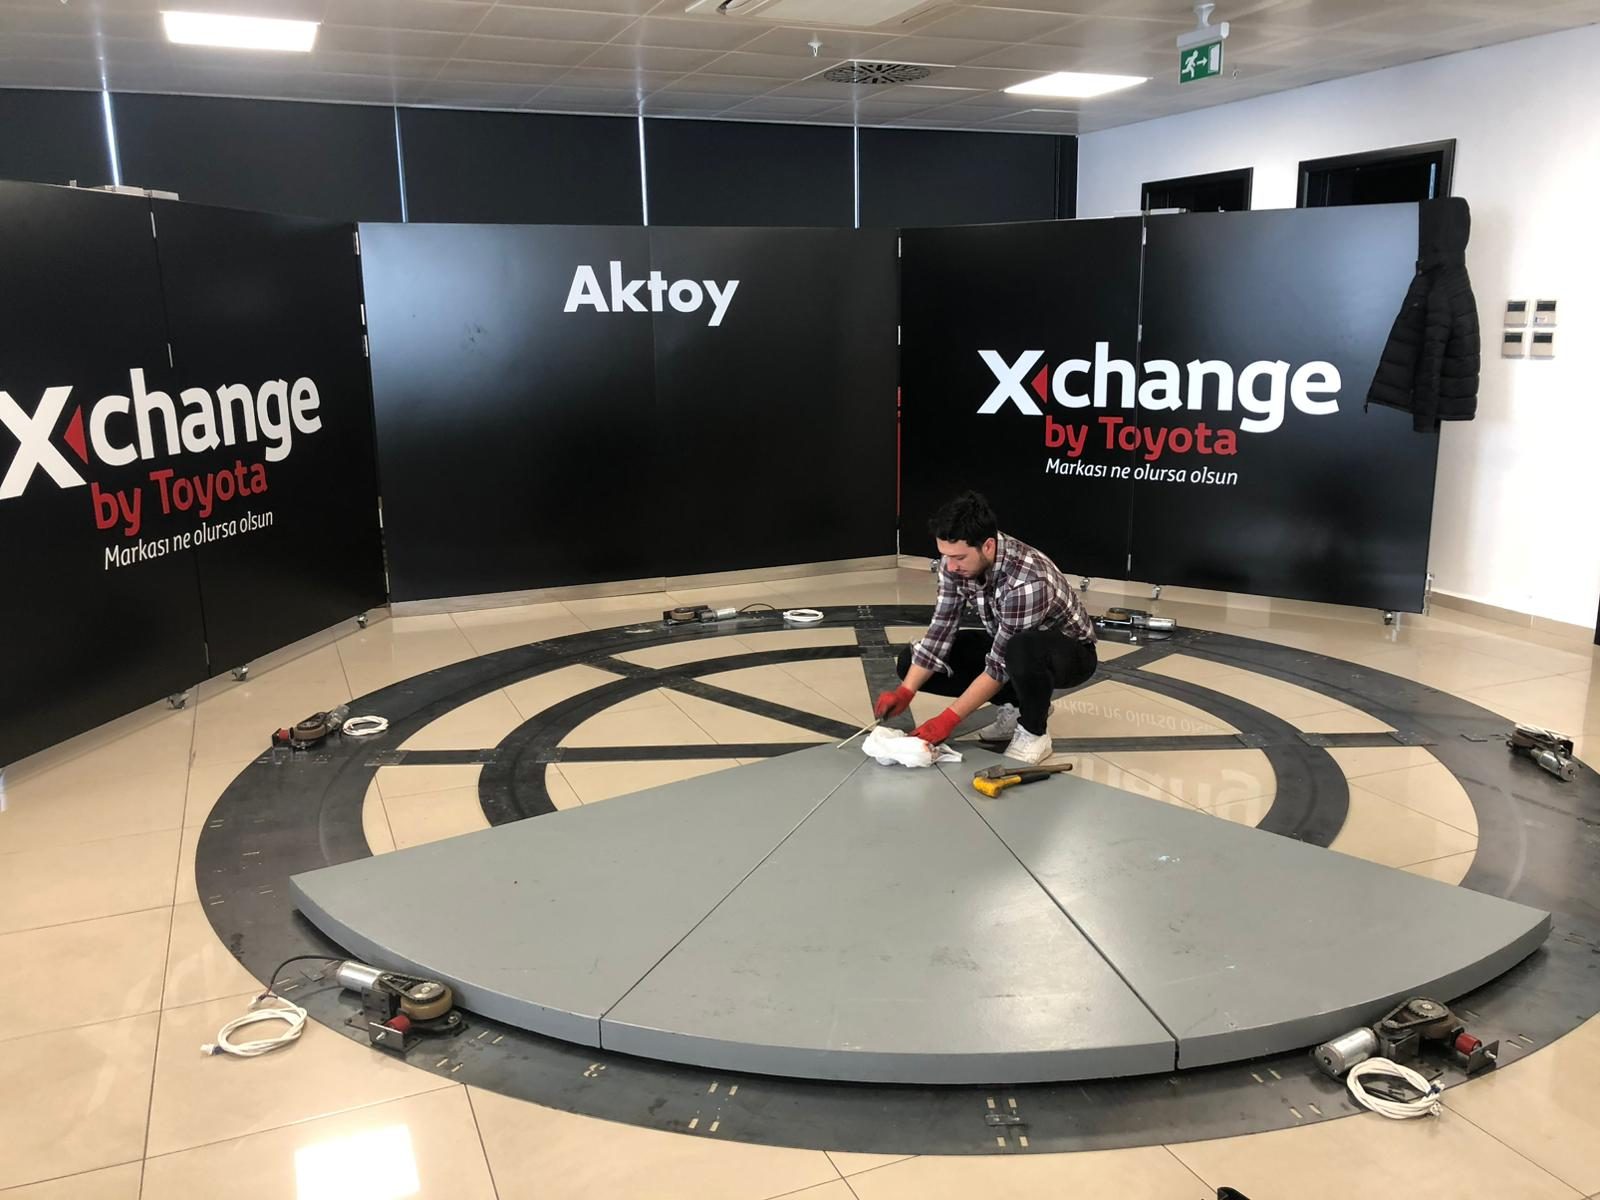
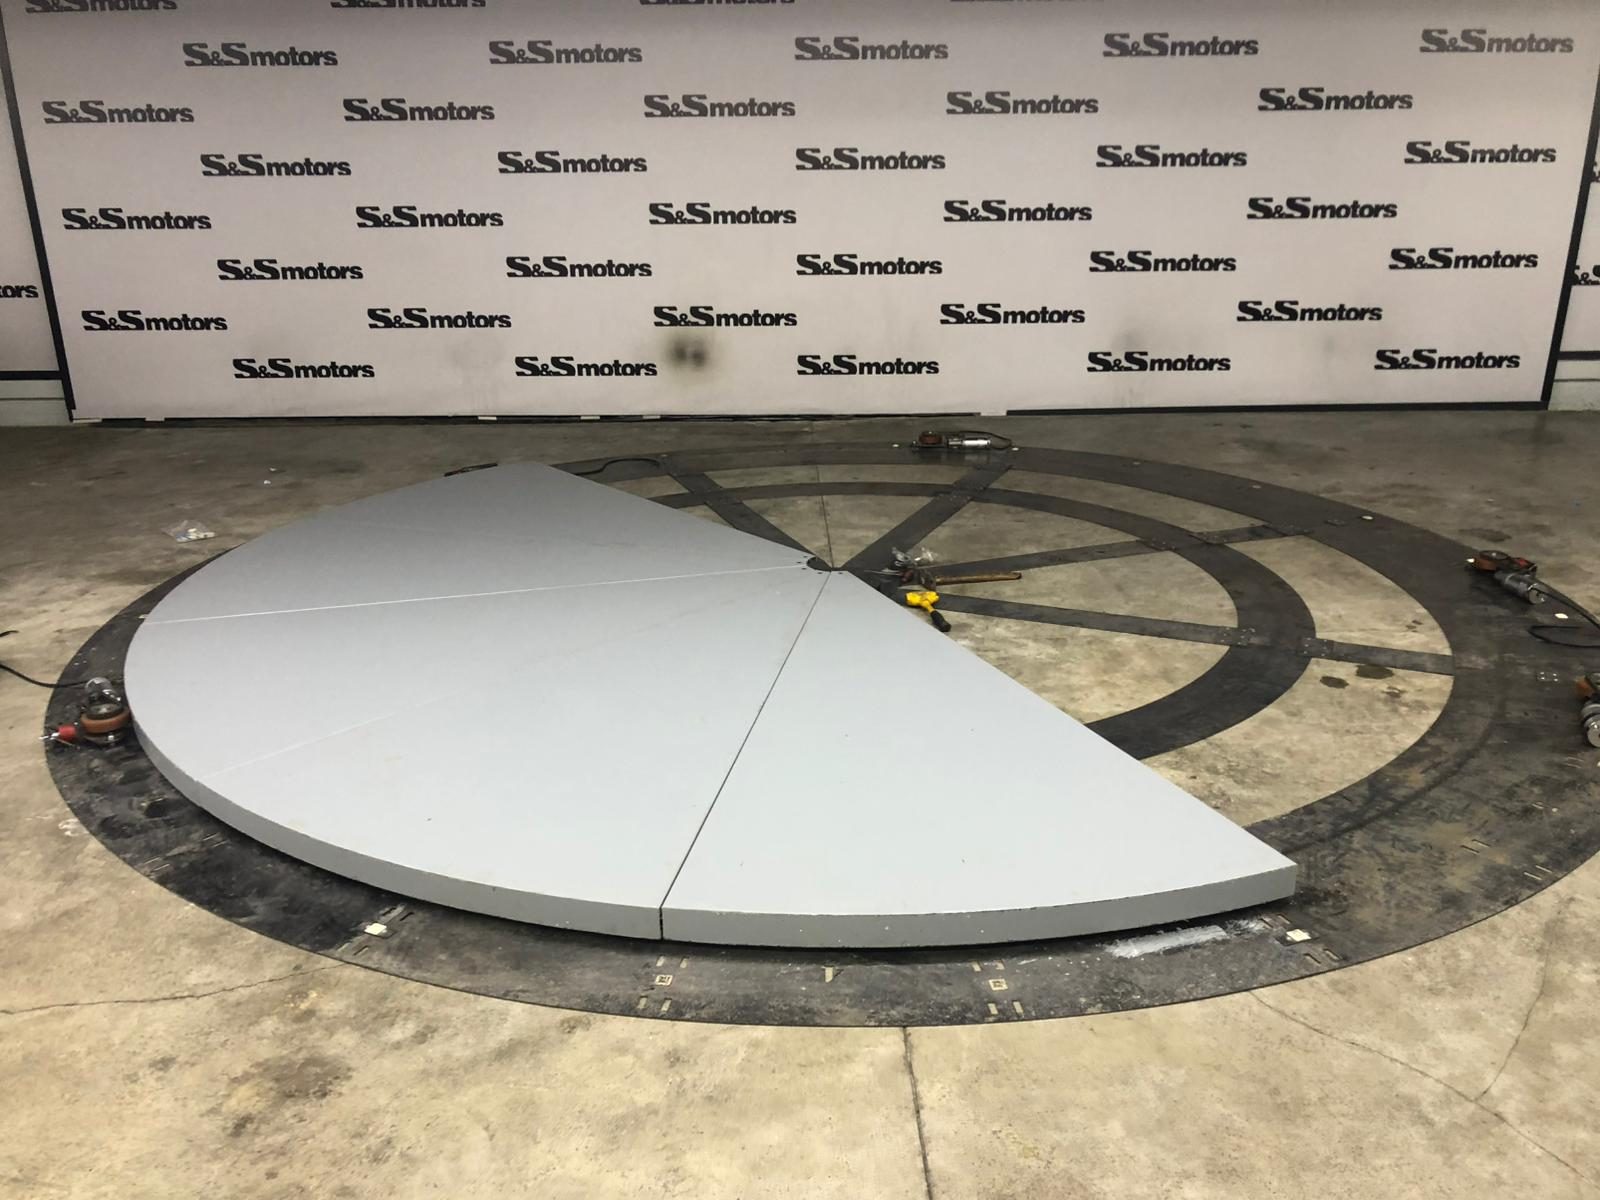
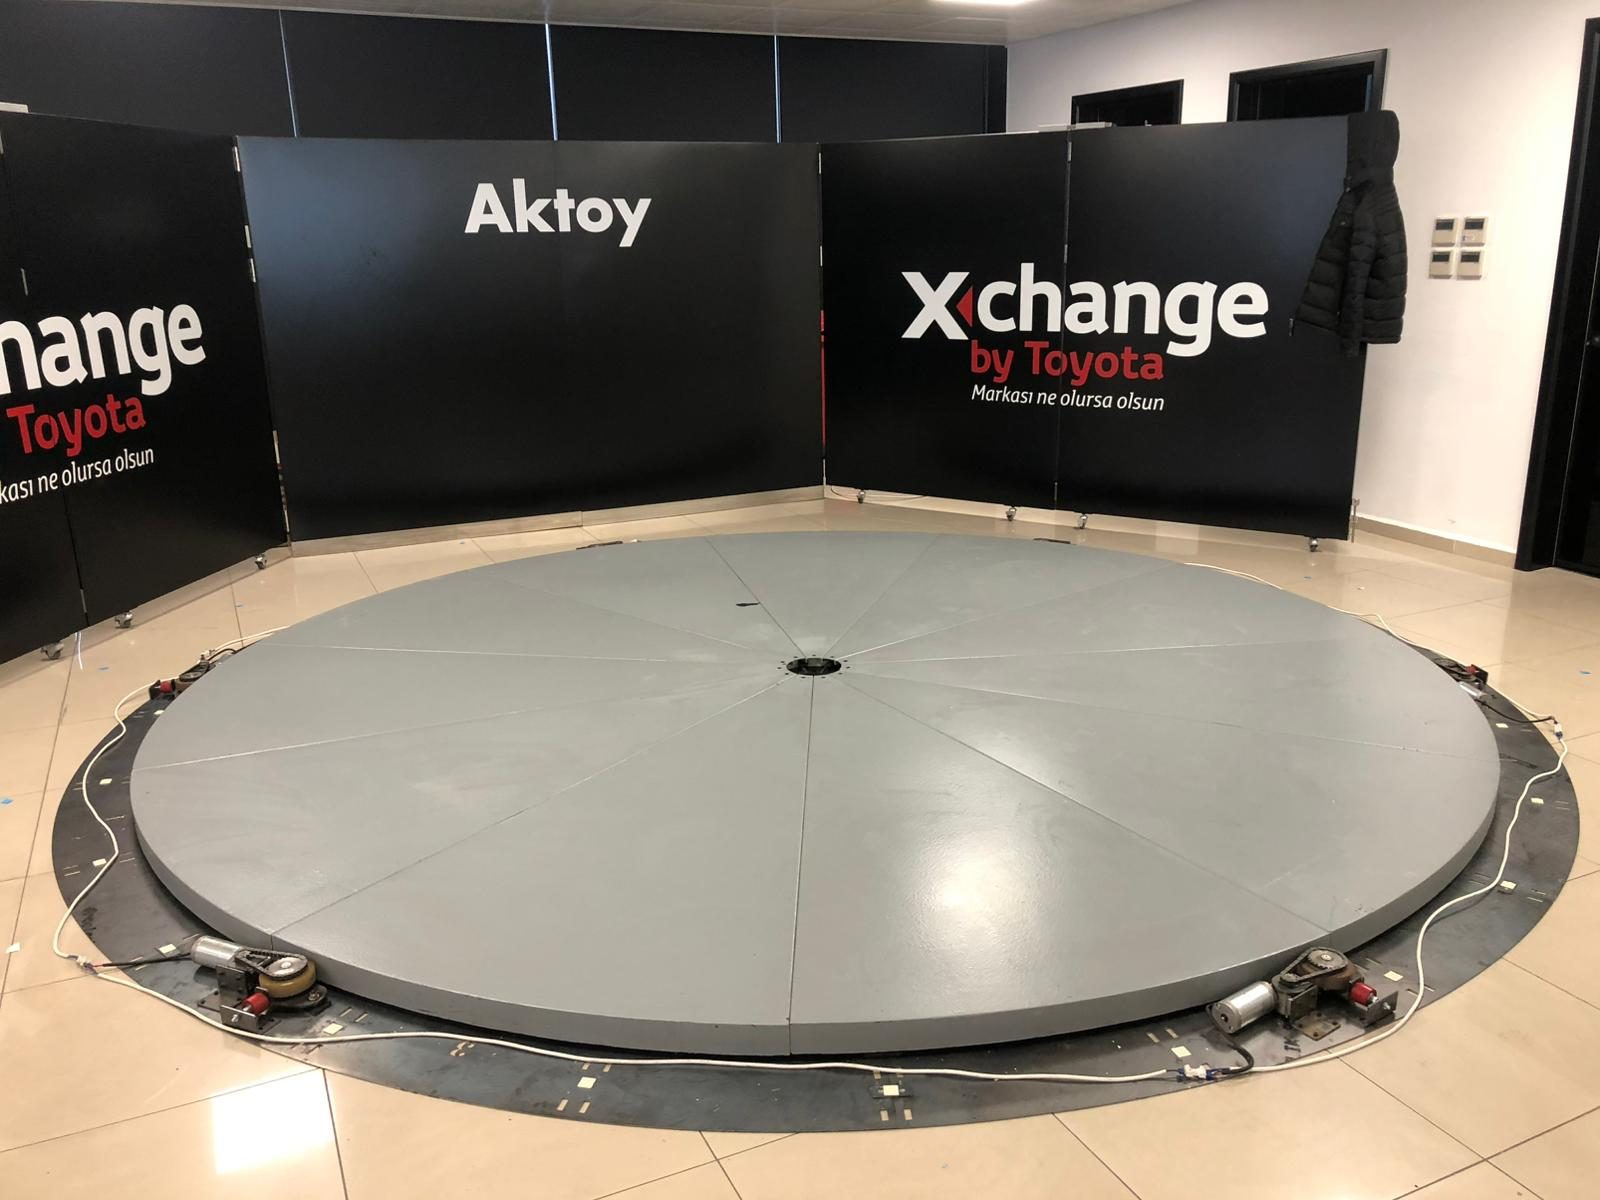
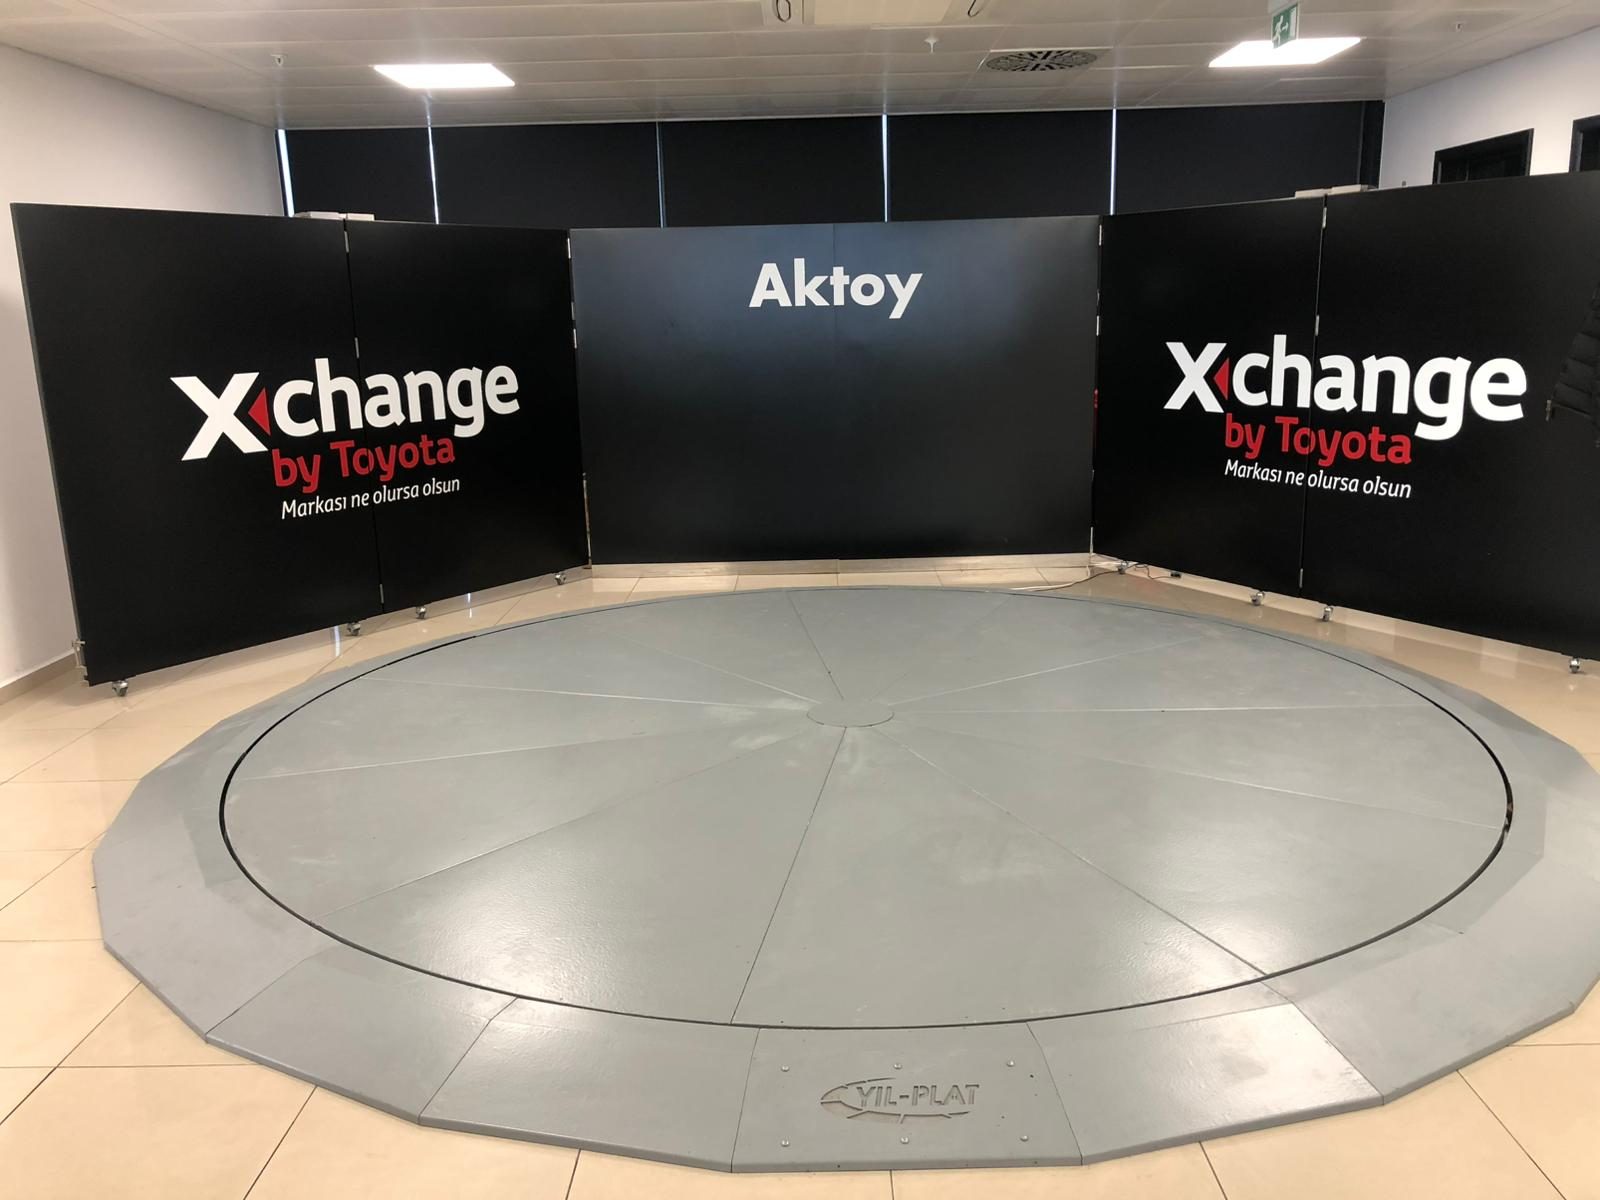
1. The spot
A flat 6 × 6 m area; at least 3 m from the hub to the wall. Concrete, epoxy, tile or marble — no anchors, no excavation.
Check
All parts are checked against the inventory.
Top view · to scale
Side elevation · to scale
2. Hub and ring
The bearing seats in the hub. Eight arms bolt to the hub, the arc plates to the arms; the ring is complete.
Check
The hub plate must sit without play.
3. Motors
Four drive stations bolt to the ring in a cross (4 × 90°). Wheels are aligned with the ring; stops are tightened with the 13 mm spanner.
Check
Every wheel must fully touch the ring.
4. Panels
Eleven triangular panels lock together from the hub outwards: male–female panels first, the female–female one closes the ring. Hub cover last.
Check
No height difference between panels.
5. Ramps and power
The four motor ramps go over the motors, the other ramps around the rest; all ramps are reinforced. Motor plugs into the control panel, panel to 220 V; remotes are paired. First turn is done empty.
Check
Red to plus, blue to minus; reversed polarity turns the wheel the wrong way.
Down in 40 minutes, moved in the same crate.
The same steps in reverse. When the showroom changes, the platform comes with you; the floor stays as it was.
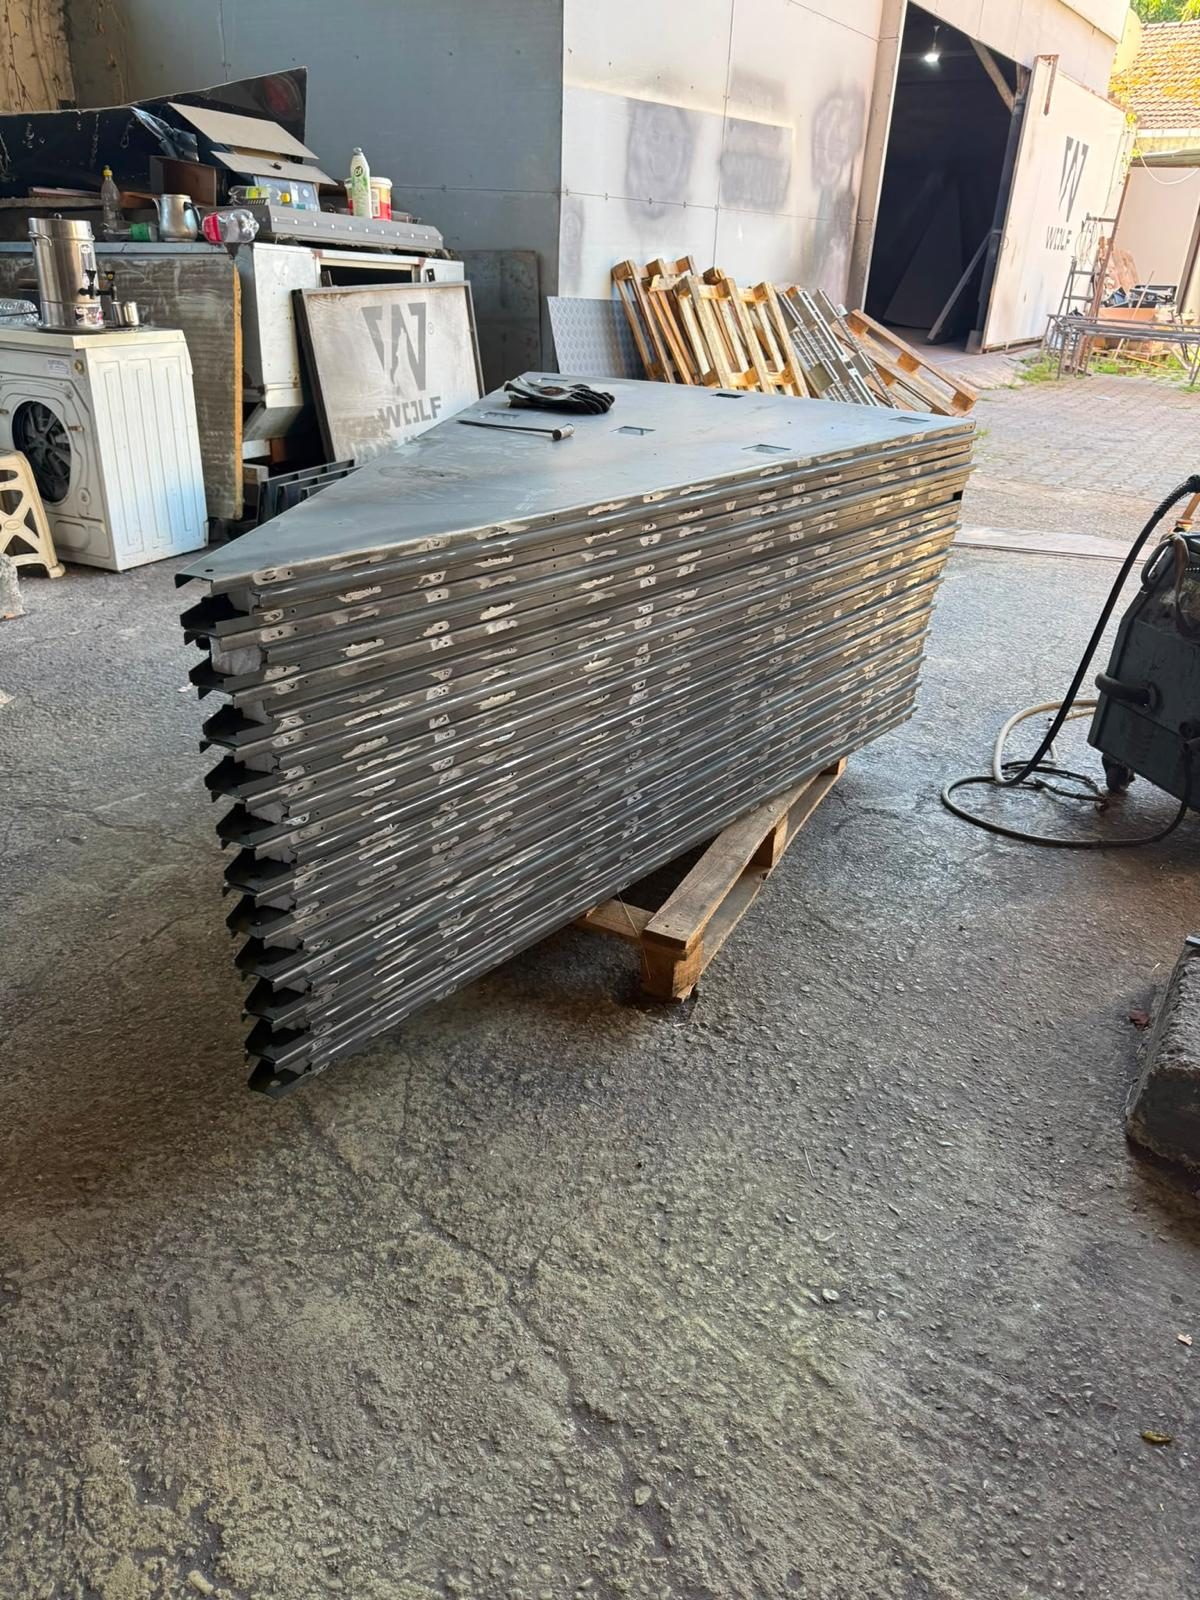
You install it; we are on the line.
Two people, hand tools
A hex key, a screwdriver and a 13 mm spanner are enough. No technical training needed.
Video-call support
We stay on a video call during installation; afterwards, questions are answered within one working day.
Illustrated manual
Every step with photos and checkpoints. It ships in the crate and can be downloaded as a PDF.
Your showroom is next.
Buy once, use for decades. Create your order or message us on WhatsApp.